ZENNER Datahub Howto: Sending Downlinks
Last modified on 16th April, 2024
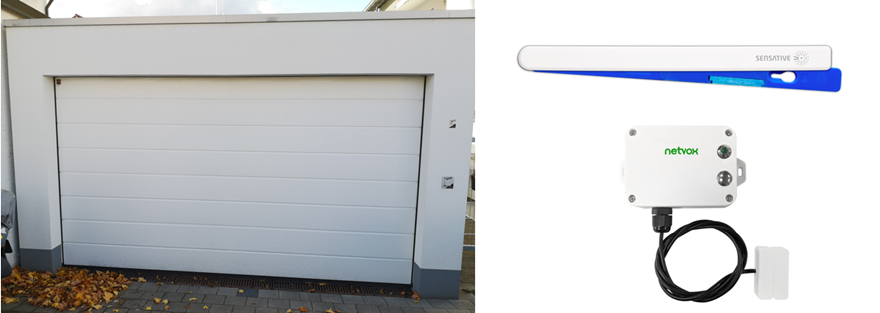
In Michael ‘s last posts, he has already shown how a payload is composed using the Sensative Strips sensors and how it can be adjusted via app or manually.
But how do you get the payload sent to your sensor in the first place?
The tool of choice here is our ZENNER Datahub.
You can take a closer look at the general handling of this in the Quick Guide – ZENNER Datahub.
Step 1: Selecting the Sensor in the Datahub
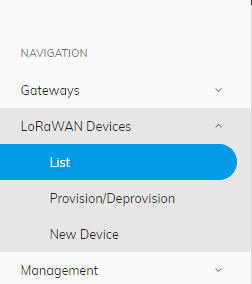
First you have to log in to your client in the Datahub and navigate to the overview of sensors under LoRaWAN Devices in the left sidebar and select your sensor there.


In the sensor overview, navigate to the Downlinks tab.
Step 2: Creating the Downlink


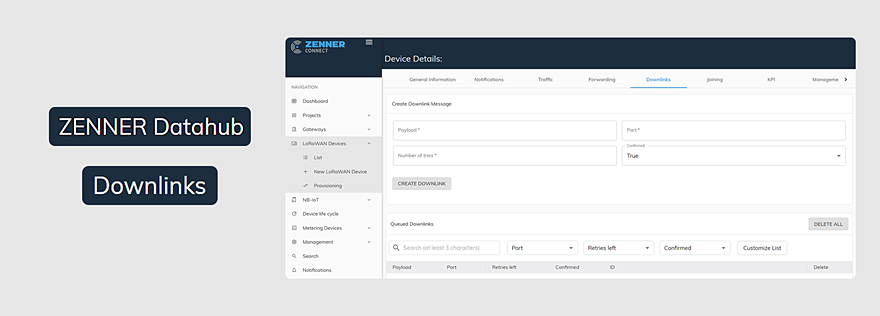
ZENNER Datahub: Creating the downlink
In the upper Create Downlink Message area, the Payload (data content of the packet), the port used on the device and the Number Of Tries (number of attempts to send) can be specified. There are also choices for Imme – from immediately, which means sending the packet immediately, but this must be supported by the device – and Confirmed. A confirmed downlink triggers an acknowledgment from the sensor if it was received successfully.
Digression on immediate transmission (Imme): LoRaWAN-enabled devices come in different classes. LoRa devices of Class A open after each transmission process (uplink) a receive window for Downlinks. Downlinks that are sent at a different time can therefore not be received by these devices.
The majority of devices belong to Class A and we in the Brunata Minol ZENNER Group also mainly use Class A devices.
For an immediate sending of a downlink (always on true) a Class C device required. These devices can be used at any time receive downlinks, except when they are transmitting themselves.


As an example, here we have a downlink to a sensitive strip, as described by Michael in his post described. When you click the Create Downlink button, the downlink is queued and sent after the next uplink has been sent by the sensor.
The payload consists of the data content that you want to send. We took this as an example from the article. Port 11 is specified by the manufacturer for the Sensative Strip. For other devices, this results from the specifications. The 3 attempts to send are only chosen as an example and in this example mean that the message is attempted to be delivered 3 times. If the delivery is successful, the remaining attempts are discarded.


The downlinks queue is located in the Queued Downlinks box below. All downlinks are listed here with their parameters until they have been carried out. If you accidentally entered something wrong, you can cancel the downlink by clicking on the Cancel button.
As soon as the downlink has been sent, it disappears from the queue and the corresponding entry appears under the sent packets in the Traffic tab.
If you have any further questions about downlinks or if you have any additions to the topic, please write to us in the comments.
Recommend0 recommendationsPublished in Operating Aids, ZENNER Datahub


Responses