IoT in Homeoffice & Office: Healthy Room Climate with LoRaWAN® Part 1 – Basics & Sensors
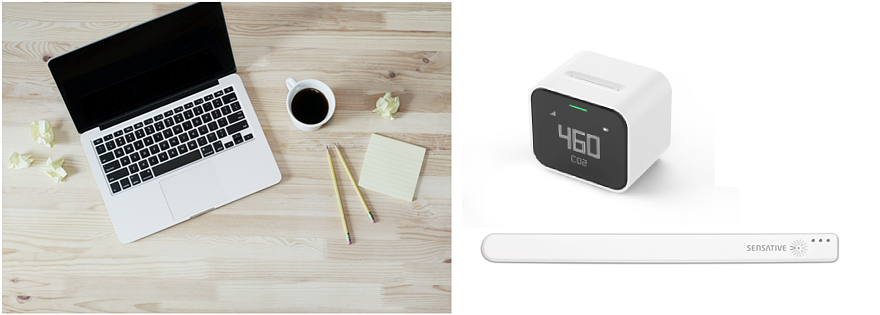
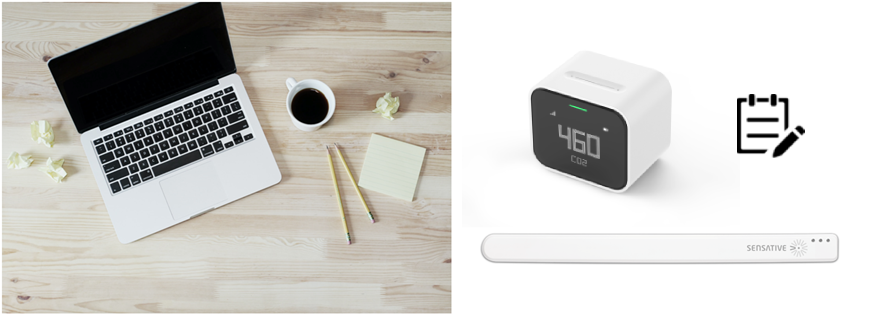
- 📖🕓 ≈ 7 min - A pleasant and, above all, healthy working/room climate is an important factor for the highest possible productivity in the office, whether on site or in the home office. But how can you ensure this? A practical and cost-effective option is the use of IoT sensors and associated tools. In a two-part series of articles, we would therefore like to use the example of selected LoRaWAN® sensors and the visualization tool B.One Gallery to show you