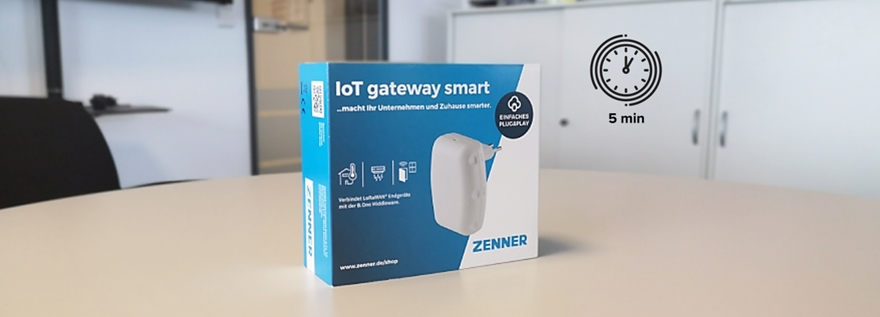
You have already taken the first important step and the box with your GatewayPLUS SMART is in front of you, but what now? Don’t worry, setup is easy and takes less than 5 minutes. Probably faster than reading this blog post.
But now let’s start at the beginning.
What do I have and where from?
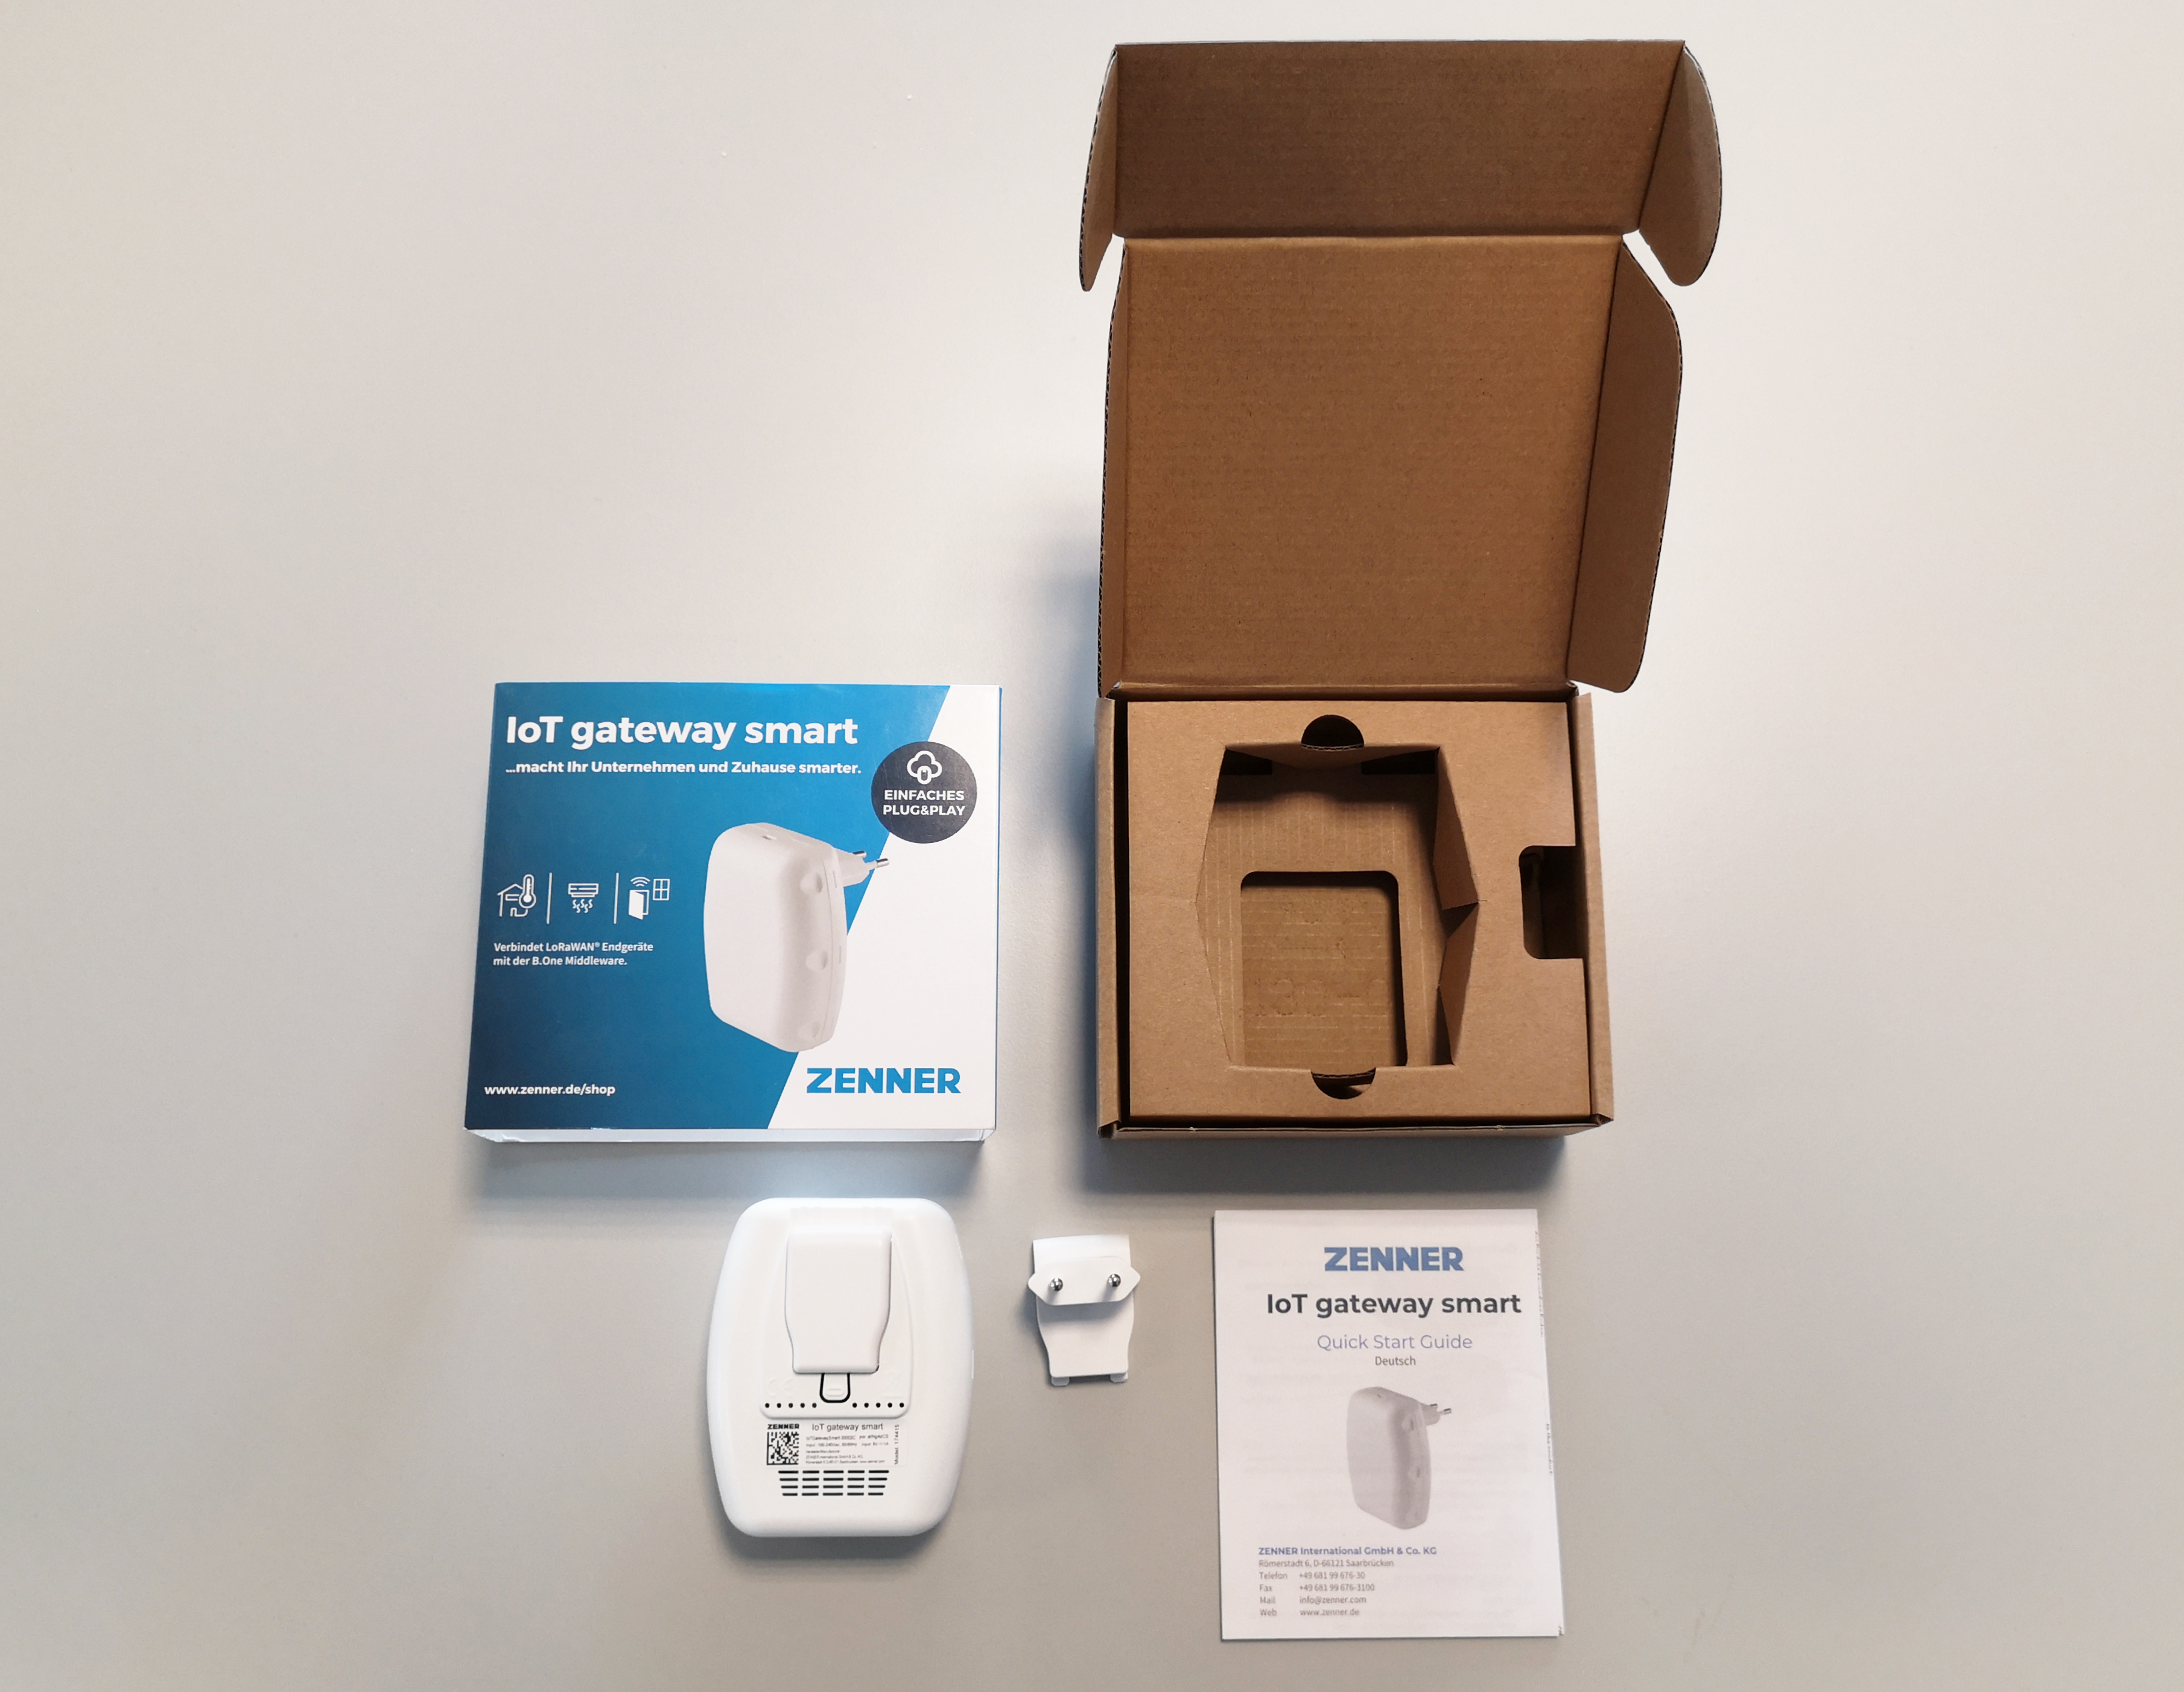
First of all, a small box that you should open as soon as possible. It contains the Gateway SMART from ZENNER, a suitable socket adapter for European sockets, brief instructions and the declaration of conformity. Where do you get the gateway from? Order easily in the ZENNER Shop I IoT Sensors & Solutions.
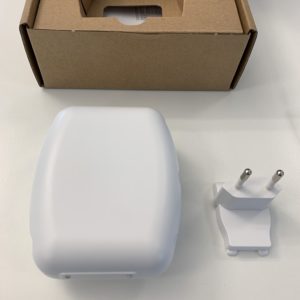
Unpacked box - GatewayPLUS Smart from the front and power adapter
What else do I need?
In addition to the gateway itself, a WLAN network and, if necessary, a device for setup. Your smartphone is enough for us.
When using your GatewayPLUS SMART in a company network, you should also make sure that port 1682 and the host name minihub-input.aktiver-emt.de are or will be released. If these are blocked, the gateway cannot establish a connection.
Construction
The construction is very simple. Remove the plastic cover on the back of the gateway and slide the socket adapter in until it clicks. Complete!
Furnishings
Plug the just assembled gateway into a socket near you and in the reception area of your WLAN network. The device starts automatically and indicates this with an orange LED on the top.
From here there are two ways to proceed.In In either case, the connected gateway remembers its credentials and can be easily unplugged and plugged back in. When plugged in again, the gateway automatically reconnects.
Variant 1 – Setup via Smartphone:
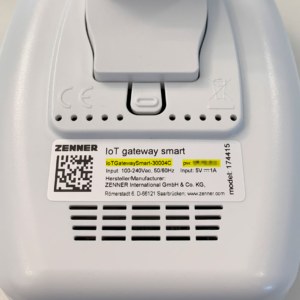
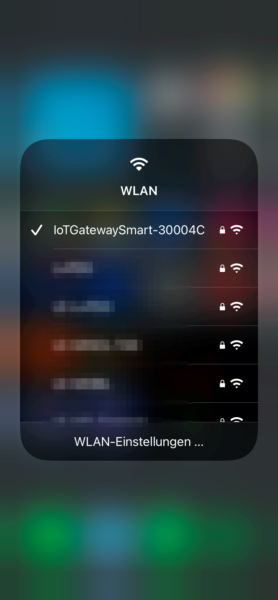
The gateway works in Wi-Fi station mode until it is already connected. This means that you can dial into a WLAN network of the gateway with your smartphone. The network name (SSID) of the gateway is on the back of the sticker and follows the scheme “IoTGatewaySmart-XXXXXX”. You will find the password right next to it.
Gateway smart back with SSID and PW
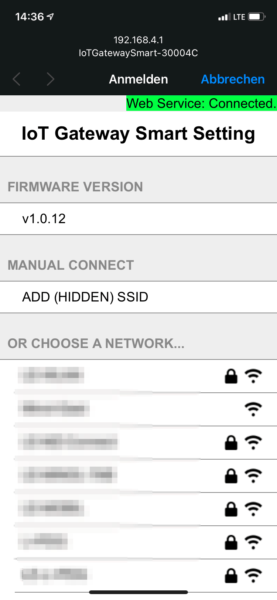
After dialing into the gateway’s WLAN, the setup page opens automatically, if not, it can be accessed via192.168.4.1 in the browser itself. Firefox or Chrome is best use.
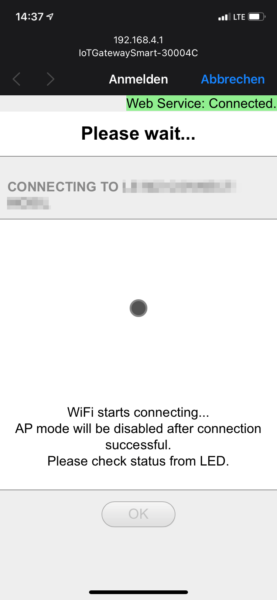
Select the desired WLAN for the connection and enter the password as usual. If necessary, you can also enter the SSID yourself here. The window closes itself as soon as the connection is established and the gateway shows the correct connection via a green LED.
Login to the WLAN AP
Selection of the WLAN network
Gateway Smart establishes connection
Setupvia Laptop or PC
If you do the setup on your laptop, the process is very similar, but you have to connect to the web interface manually after you have connected to the gateway’s WiFi network.
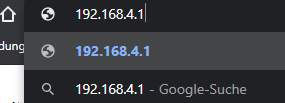
To do this, enter the IP192.168.4.1 in the address line of your browser and end up in the same mask as with the smartphone.
IP in the address bar
Here you select the WLAN at your home just like above and enter the password so that the gateway can connect.
Selection of the WLAN network on the laptop
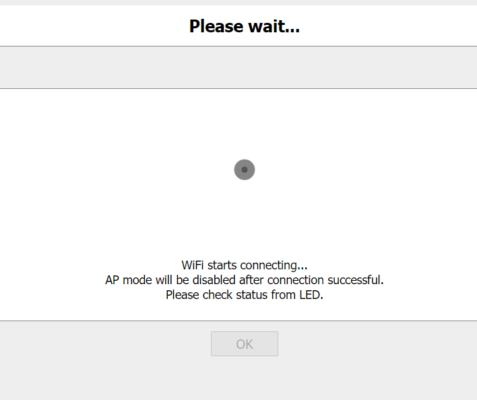
Here there is a small difference compared to the smartphone. On your PC or laptop, the browser window does not close automatically as soon as your gateway has established the connection, only the status of theweb servicein the top right corner changes fromconnectedtodisconnectedand the color changes fromgreentored.
Don’t be confused by the fact that the animation keeps moving and Please Wait is displayed, just check the LED on your Smart Gateway. If this lights up green, everything is fine and you can close the page.
Web Service: Disconnected
Variant 2 – Using the WPS Button:
Config button on top
If your router has a WPS button, all you have to do is press and hold the config button, which you can find on the top next to the LED, for 5 seconds until it starts flashing. Then you have 2 minutes to press the WPS button on your router. The gateway and your router will then connect automatically. If everything went well, you can see this from the green LED.
Attention, this variant can get stuck with some WLAN routers when the connection is established, despite following the instructions carefully. If this is the case for you, reset the gateway and use the direct connection via smartphone.
Reset to Default
If the gateway should forget its previous login information, you can delete the cache using the reset button on the bottom. Hold down for 10 seconds until the LED lights up orange again. Then you can start again at the point setup.
– 📖🕓 ≈ 10min – You have purchased access to the B.One Gallery visualization tool, but are now wondering where exactly you can find what? Our Quick Guide – B.One Gallery provides the answer to this question and gives an overview of the areas and functions of the tool.
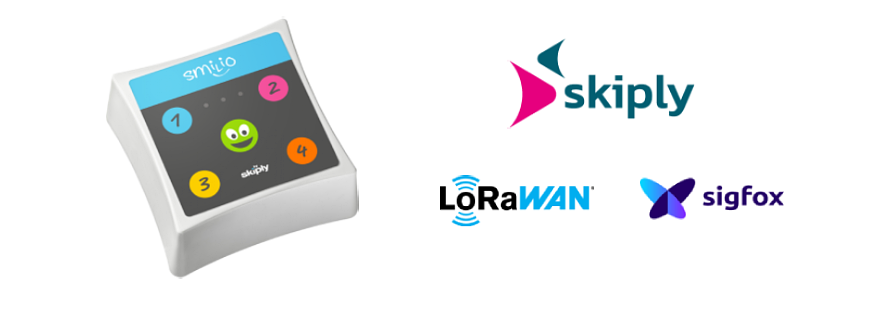
– 📖🕓 ≈ 9min – After we recently introduced you to the Skiply Smilio Action Multiservices in more detail, including possible use cases that can be implemented, we will now go into the activation, assembly and configuration of the device in this article.
– 📖🕓 ≈ 9min – Last modified on 11th April, 2024 As recently announced, I would like to use the example of two LoRaWAN® sensors and the B.One Gallery visualization…
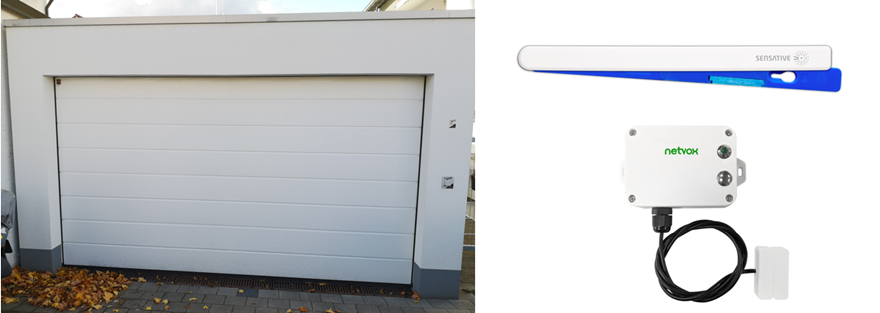
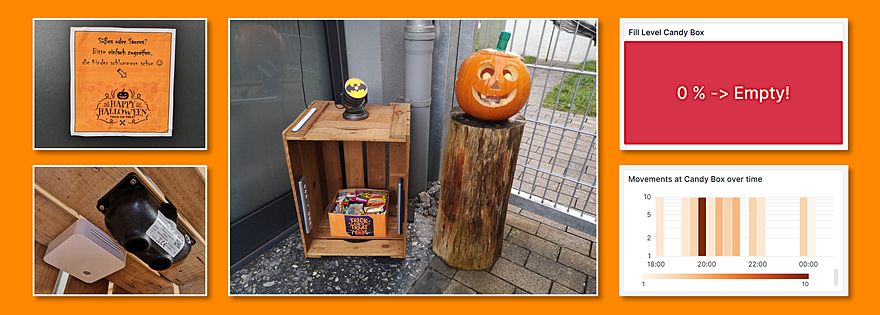
– 📖🕓 ≈ 8min – Recently it was time for “trick or treat” again on Halloween. This year with LoRaWAN® house entrance monitoring. Find out more about the implementation, the results and other lessons learned.
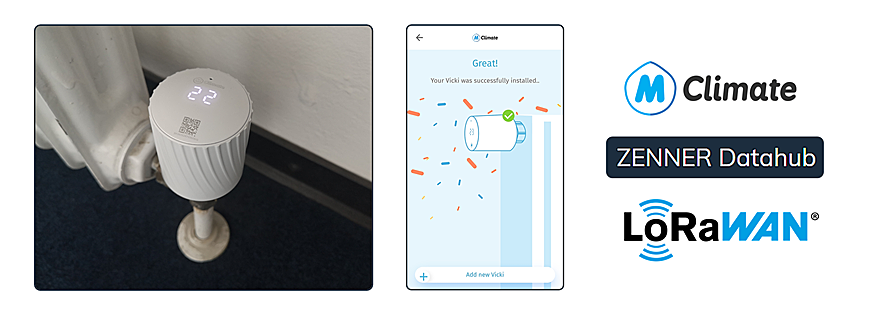
– 📖🕓 ≈ 8min – Don’t have a smart radiator thermostat yet to save energy and costs? Using the example of the MClimate VICKI LoRaWAN® and the B.One Middleware, we show you how easy it is for you to convert yourself.
In order to provide you with the best possible user experience and offer, we use cookies on our website that are not only technically necessary but also serve to analyse access. By clicking on 'Accept all' you agree to this. You can find more detailed information and how to revoke your consent at any time in our Privacy Policy. (Decline)
Our website uses cookies to help us improve our website and provide you with the best possible service. These cookies are necessary and cannot be disabled. We also use cookies to analyse the traffic on our website. By clicking on 'Accept', you agree to our cookie policy:


Responses