Quick Guide – ZENNER Datahub
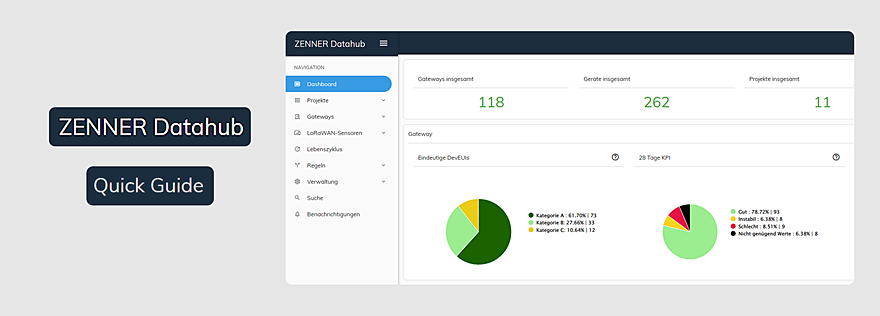
This quick guide is intended to help you find your way around the IoT platform ZENNER Datahub better. We give an overview of the most important areas and functions of the platform and explain the different views for the devices and gateways. Are you still wondering what the ZENNER Datahub actually is? Then we first recommend our article IoT Platform ZENNER Datahub – An Introduction.
1. Login
In order to log in to the ZENNER Datahub, you need a user name, a password and a tenant. You will receive this information by email after you have purchased a GatewayPLUS Smart, Indoor or Outdoor, in the ZENNERShop.
2. Menu Structure
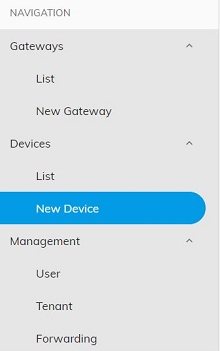
The navigation menu on the left side of the interface gives you quick access to all important areas. The menu can be minimized and called up again at any time by clicking on the menu button at the top.
3. Change Password
After logging in for the first time, we advise you to change your password as soon as possible. You can do this via the navigation bar in the “Management” → “User” → “Password” → “Change” area.
4. Overview of the Gateways
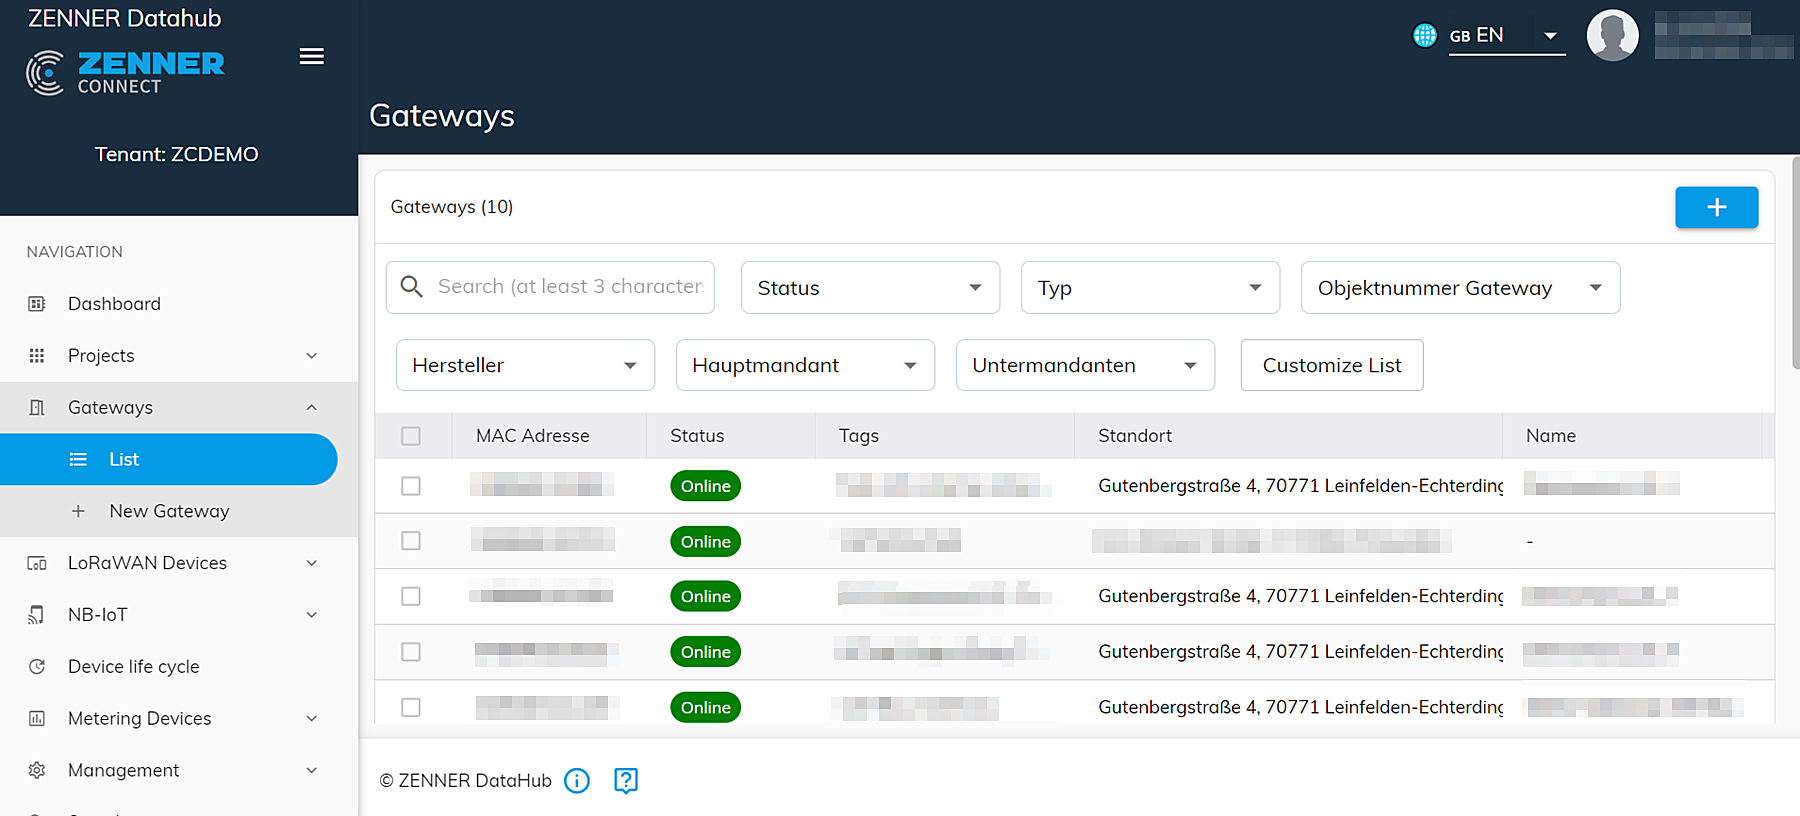
You can find the overview of the gateways on the left-hand side in the navigation bar under “Gateways” → “List”. Here you can see an overview of the gateways that are located in your tenant. Here you can search for specific gateways and filter the result by status (online/offline) and type.
Important to know: If you have purchased a GatewayPLUS SMART, Indoor or Outdoor via the ZENNERShop, it is currently not visible to you here. This is because, for technical reasons, all of these gateways are located in a higher-level tenant that is not publicly visible and, due to the preconfiguration on the Minol ZENNER Connect network, there is no possibility of changing their configuration independently.
5. Create new Gateway
Before we show you how you can create a new gateway if necessary, please note the following: All GatewayPLUS purchased in the ZENNER shop have already been created in the data hub in advance in order to automatically establish a connection to the network immediately after commissioning. Even if you cannot currently see these gateways in your own account/ tenant as described above, you do not have to create them there yourself before activation. In that case you can just ignore this section 5. and also the following section 6.
Otherwise you see the “ADD GATEWAY” button in the gateway overview at the top right of the screen. The button is in the picture under “4. Overview of the gateways”. Alternatively, you can reach the same page via the navigation menu under “Gateways” → “New Gateway”.
A wizard opens when creating a new gateway. All fields marked with an asterisk must be filled out.
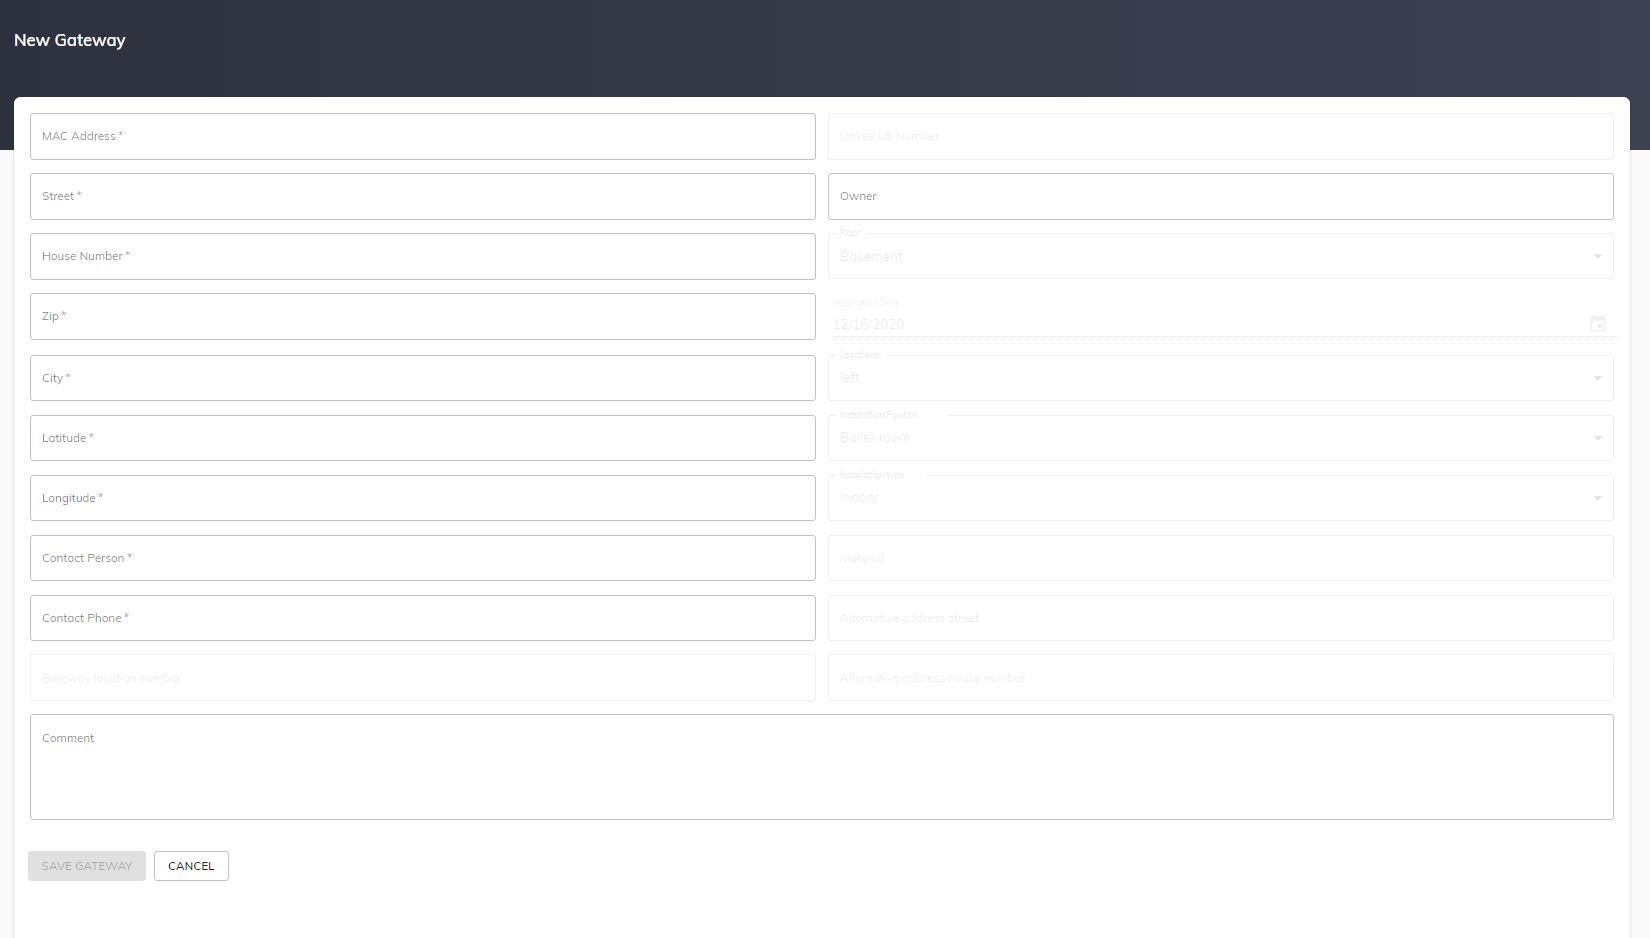
To complete the installation of a new gateway, click on the “SAVE GATEWAY” button. This remains grayed out until all required information has been provided.
If the meta information for a gateway is fully entered, the gateway will be displayed in the community map the next time it is updated. Details can be found in the blog post “ QuickGuide – Community Map”.
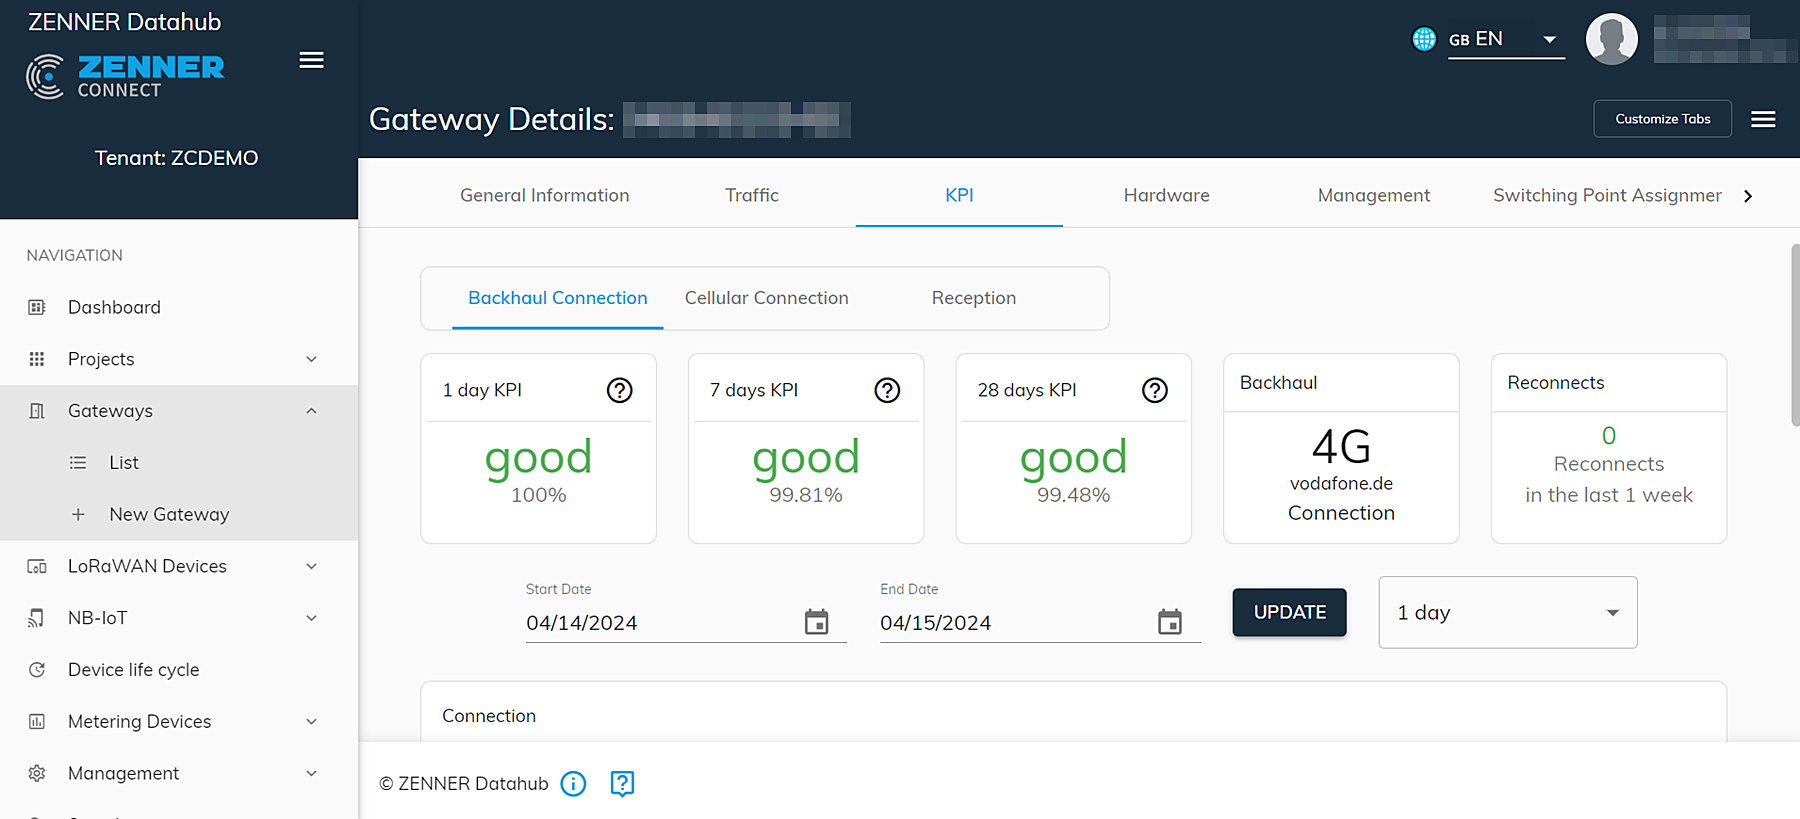
6. Gateway Statistics Data
You can access the gateway details by clicking on a gateway in the overview. Here you will find more information about the selected gateway. You can use the various tabs to display more detailed information about the traffic, the connection or the hardware. In the Management tab, there is also the option of disconnecting the gateway or restarting it.
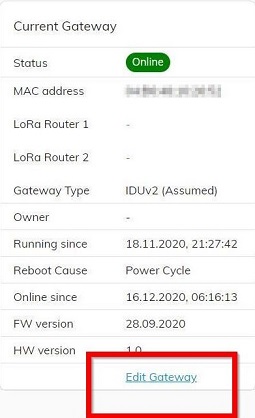
7. Changing Gateway Information
If you are in the “Gateway Detail” view, a summary with the most important information can be seen on the right-hand side. If you want to change something on your existing gateway (does not apply to in the ZENNERShop ordered IoT GatewayPLUS, see also the notes above), you can access the wizard for entering the information about this gateway via the “Edit Gateway” item in the summary.
8. Overview of the Sensors
You can reach the overview of the sensors via the navigation bar via “Devices” → “List”. Here you get a list of the created devices. Devices can be found more easily using the search function. It is also possible to search with partial strings. By clicking on a sensor you reach the statistics of the respective device.
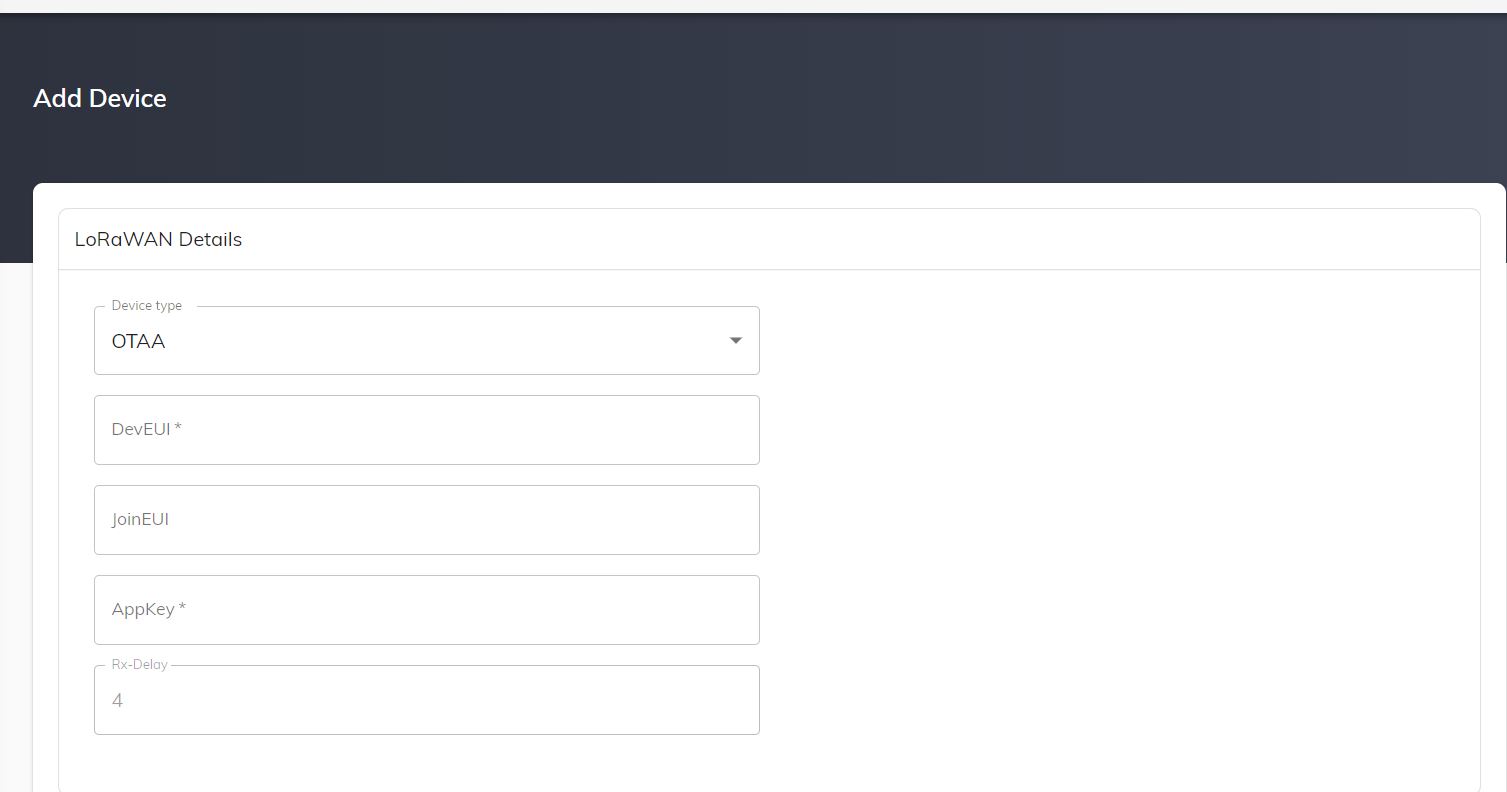
9. Creating a new Sensor
You can reach the wizard for creating a new sensor either via the “New LoRaWAN Device” button on the left in the navigation or, if you are in the overview of your sensors, via the “Add” button with the PLUS icon right above the sensor list. Similar to the wizard for creating a gateway, the required information is marked with an asterisk. The necessary information for a new device differs according to the selected device type. For the type “OTAA” a “DevEUI”, a “JoinEUI” and an “AppKey” are required. For the “ABP” type, in addition to the “DevEUI”, information on the “Dev Address”, the “NwkSKey” and the “AppSKey” is also mandatory.
To complete the installation of a new device, click on the “SAVE DEVICE” button. This remains grayed out until all required information has been provided.
10. Device Statistics Data
You can access the device details by clicking on a specific device in the overview. The view is divided into different tabs.
The “General Information” tab contains the “Meta Data” that contains general information about the device and the “Session Context”. This contains the data for the join of the device, as well as the DevEUI and the type of connection.
The “Traffic” tab shows the telegrams in a tabular listing and a chart, which graphically displays the chronological progression of uplinks and downlinks. There are also various diagrams of the reception quality (SNR and RSSI), the spreading factor used, a list of the gateways that have received data from this sensor and the last telegrams in JSON format. The query area can be defined in the upper area under the tabs by start and end date.
The “Downlinks” tab offers the option of sending a downlink to the sensor. The fields can be used to define the payload to be sent, the port to be used and the number of send attempts. You can also choose whether or not to request a confirmation from the device. The field “Imme” means “Immediately” and triggers the downlink immediately if “True” is selected. Caution with this setting: immediate transmission is only possible with Class C devices, otherwise “False” must be selected here. The downlink is confirmed with the “CREATE DOWNLINK” button. It will remain grayed out until all required information has been provided.
You can find out more information about downlinks in the blog post ZENNER Datahub Howto: Sending Downlinks.
In the “Joining” tab, the received “Join Requests” and the sent “Join Accepts” are listed.
The received values are listed under “Readings” and, if available, translated by a parser.
11. Changing Device Information
Changes to devices can be made both via the “Edit device” item on the right side in the “Device Details” view and via the pen icon in the device list that has the same meaning. This point takes you to the same wizard as when creating a new device and you can change the relevant information. Some fields that cannot be changed remain greyed out like the “Device Type”, the “DevEUI” and the “Rx-Delay”.
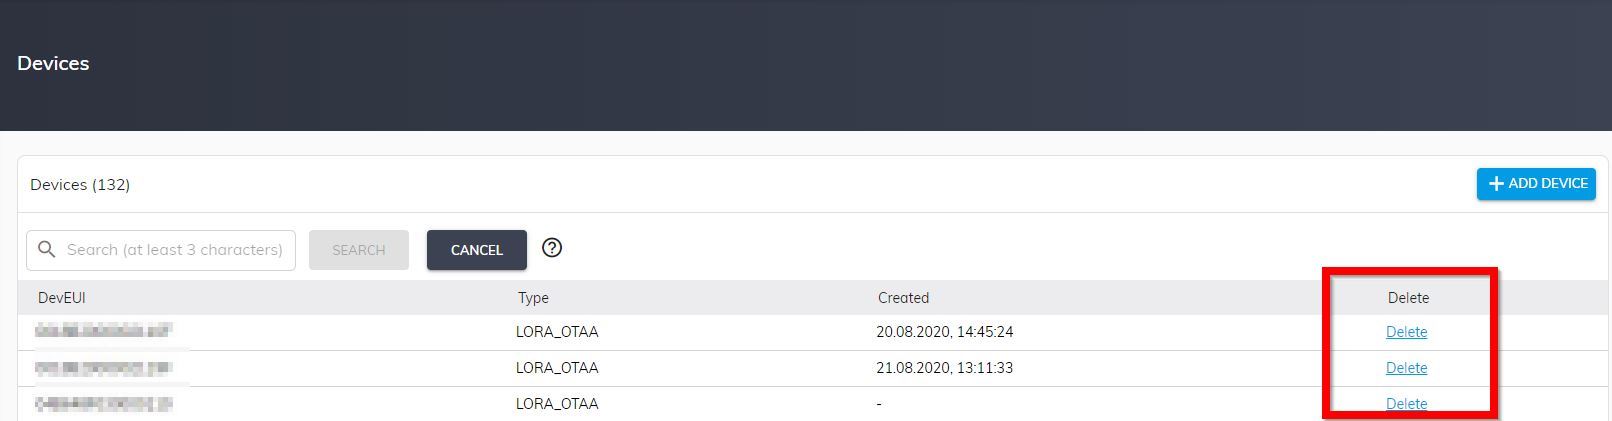
12. Deleting a Device
To delete a device, select “Devices” → “List” in the navigation area and use the search field to search for the corresponding device. On the far right you will find the “Delete” button, which can be used to remove devices. After that, no more data will be received from the corresponding device.
Please note: Deleting a device cannot be easily undone!
13. Data Forwardings
The forwarding rules are listed in the “Forwarding” tab in the “Device Details”. The forwarding rules active for this device are displayed in the upper area and the rules generally available for this tenant are shown in the lower area. All traffic from the selected device is forwarded according to the rules.
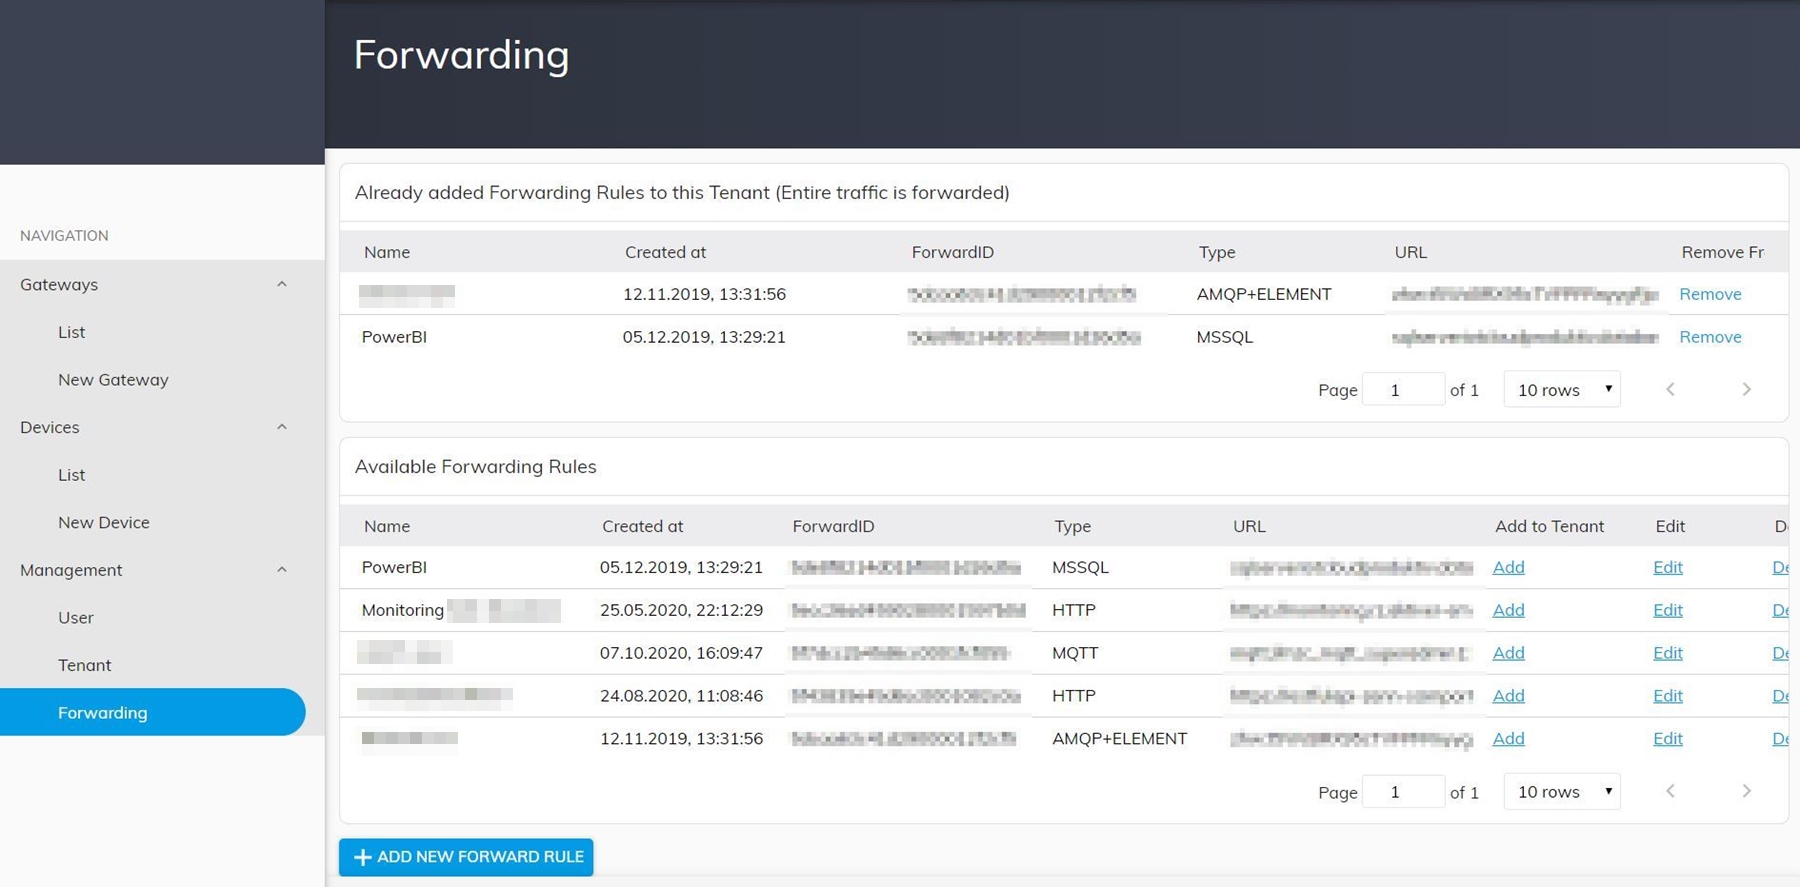
14. Set up new Data Forwarding
New forwarding rules can be set up using the “ADD NEW FORWARD RULE” button. To do this, you have to give the rules a name and specify a URL to which the traffic is forwarded. In addition, the type of forwarding can be selected. The “SAVE FORWARD RULE” button will remain greyed out until all necessary information has been provided.
You can find further information on the topic of “forwarding” in the blog post ZENNER Datahub Howto: Setting up Forwardings.


Responses